


How to add Branch?
Adding a Branch is very usefull for sports entities who have many Banches. So their follower can contact to the nearest branch
To add new branch, here are the steps to follow-
- Log in to your Account
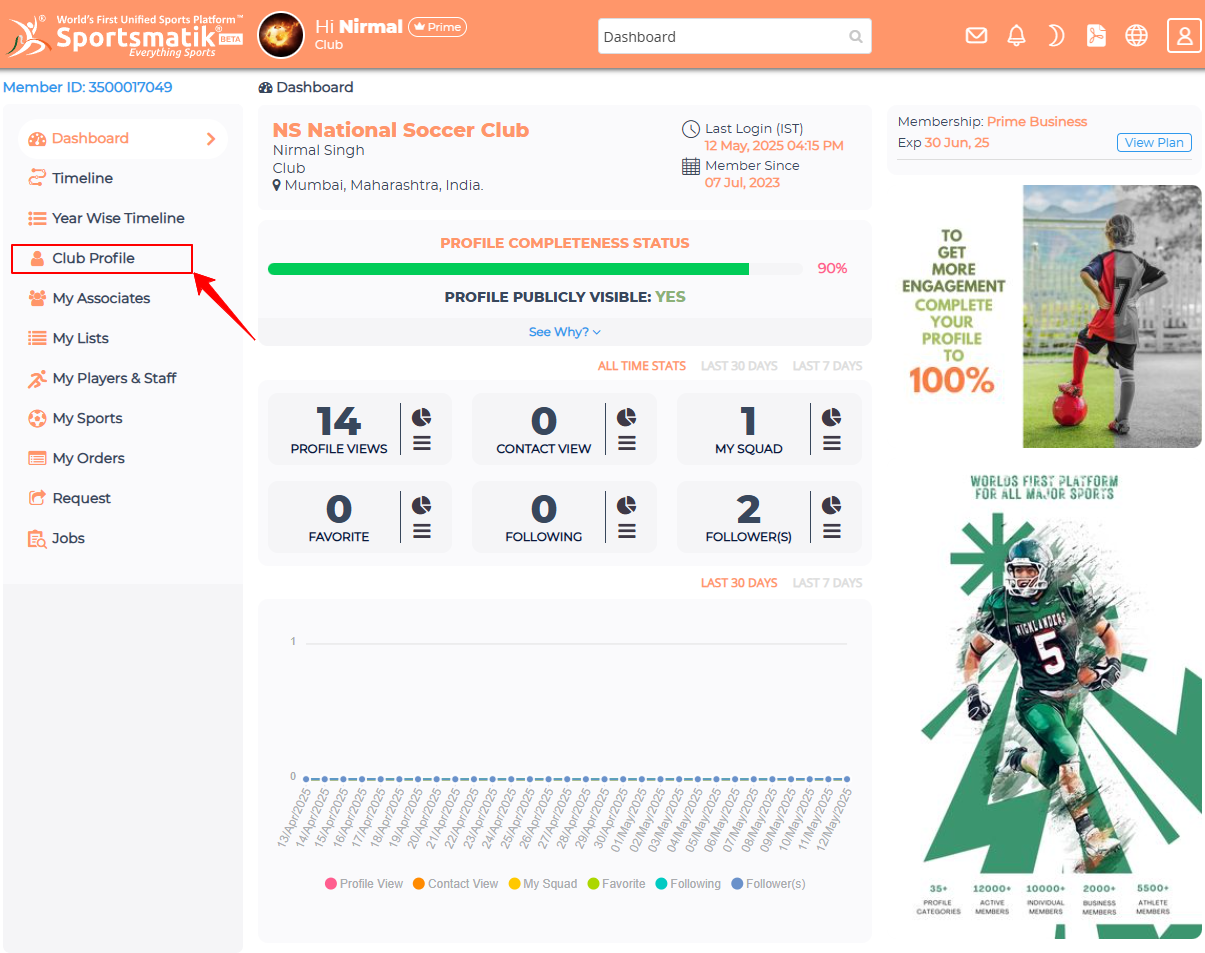
- Go to Club Profile section in your Dashboard from the left side Menu bar.
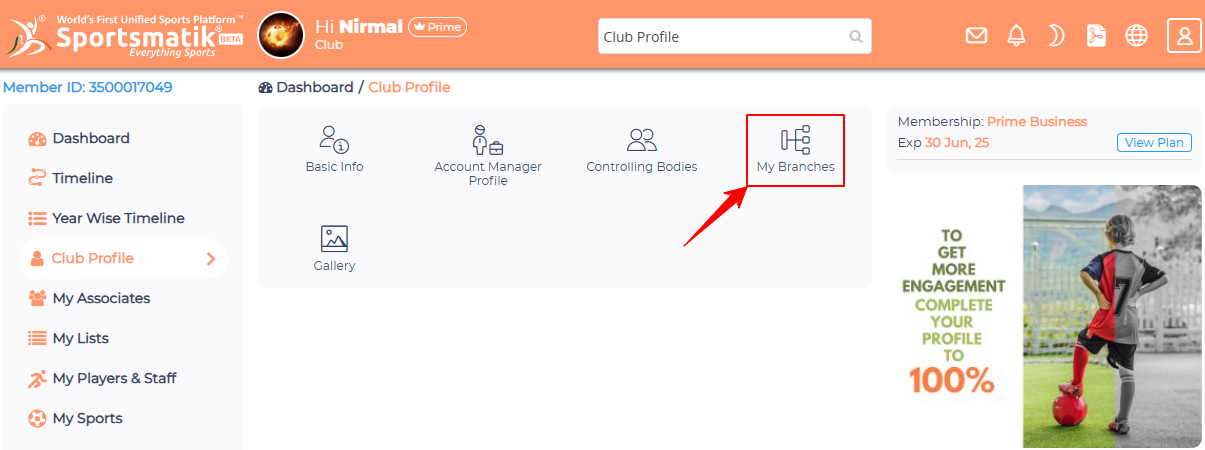
-
Click on the 'My Branches' icon. It will redirect you to the add page if there are no records; otherwise, you need to click on the 'Add New Branch' button for the next step.
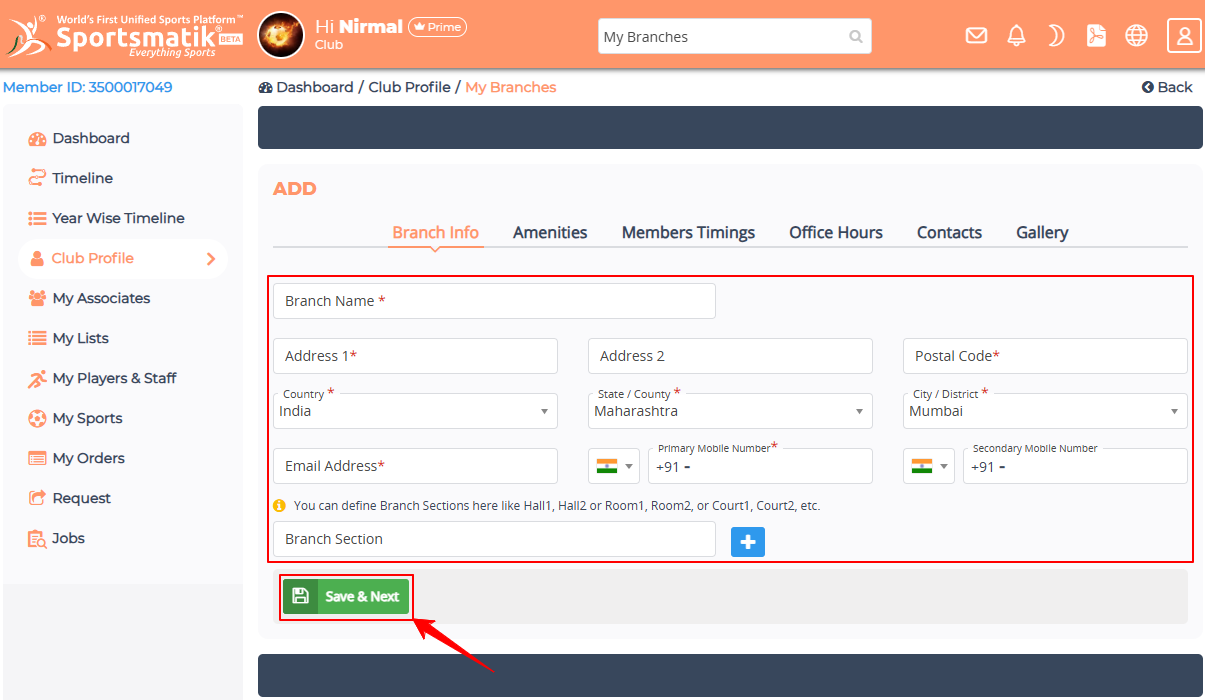
- There are multiple tabs to add Branch.
- Branch Info: - Fill in the required fields and click on the 'Save & Next' button.
- Amenities: - You can select all the Amenities that you provide in this Branch and click on Save & Next button. Alternatively, You can copy Amenities from another Branch by selecting Branch name from the Select dropdown menu at the top and clicking on the 'Copy' button.
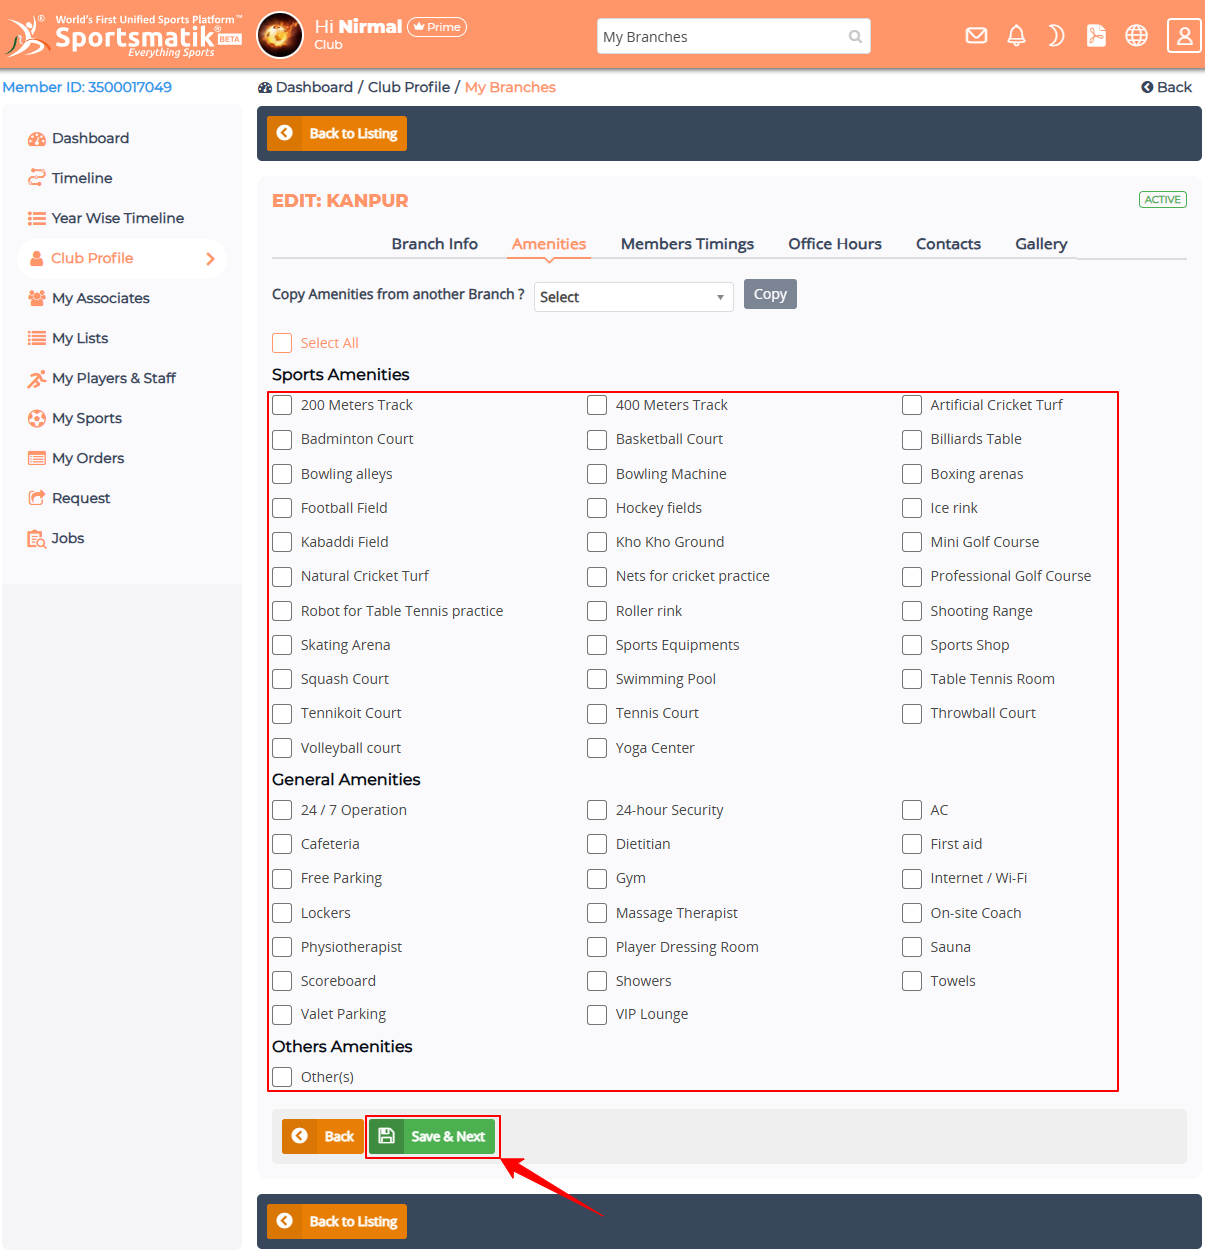
(The Copy option will appear only when other branch records are available.)
-
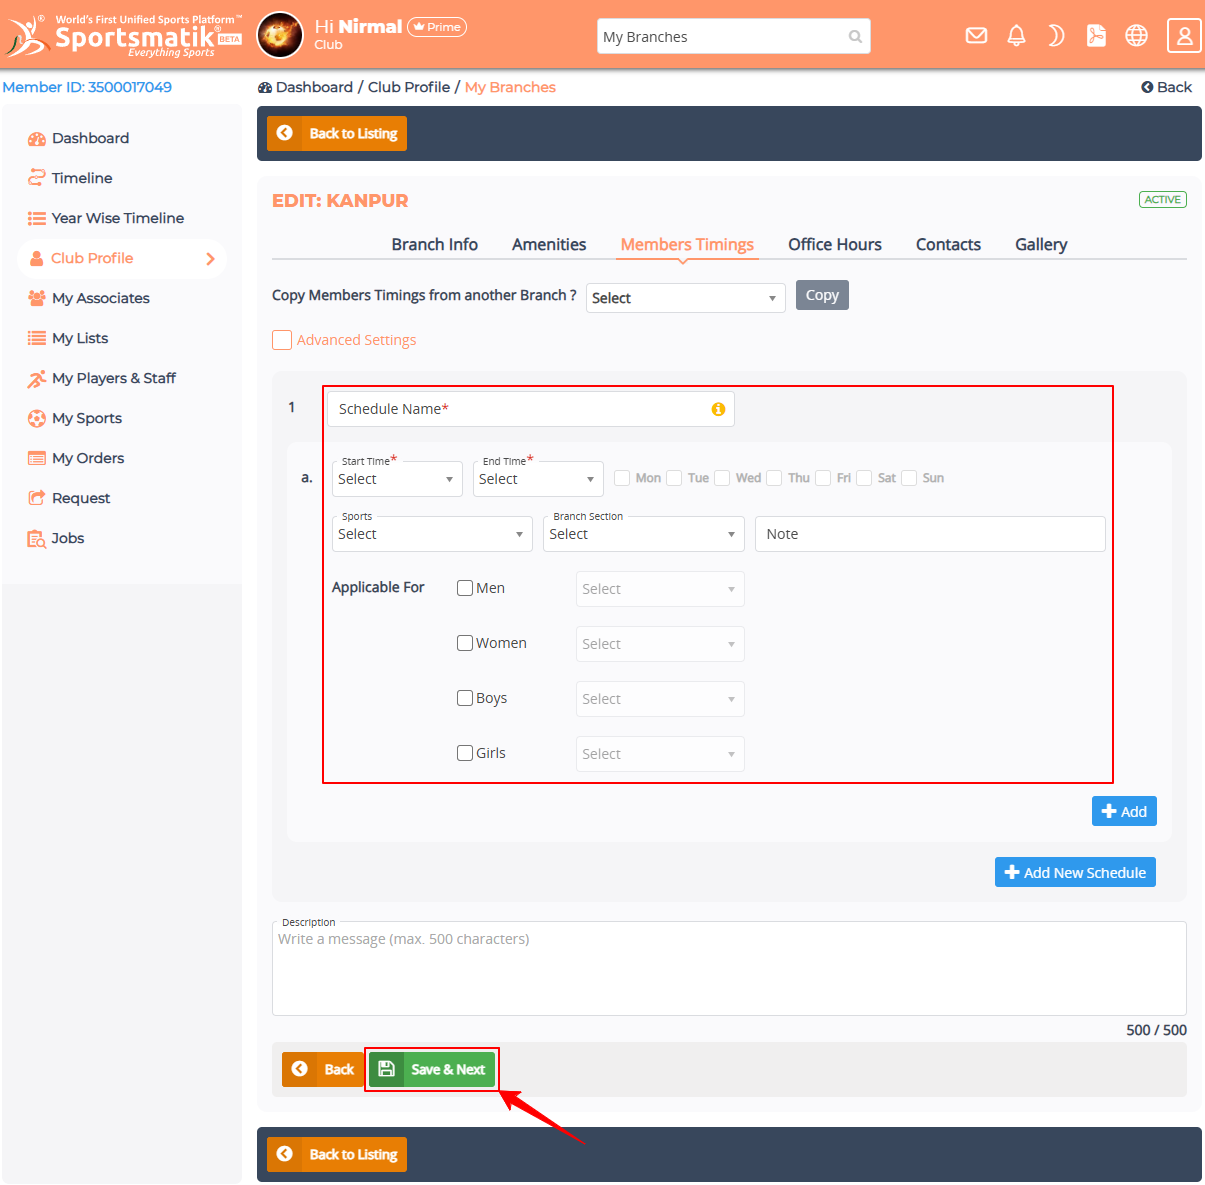
Member Timings: - There are two types of Member Timings that you can use.
- Normal Member Timings: - Fill in the required fields and click on the 'Save & Next' button. You can add multiple Timings by clicking on '+ Add' in a Schedules and also you can add multiple Schedules here by clicking on '+ Add New Shedule'.
- Advanced Member Timings: - Check Advance Settings to activate Advanced Timings. Fill in the required fields and click on the 'Save & Next' button. In Advance Settings you can add multiple timings for a Date Range by clicking on '+' and multiple Date Ranges by clicking on '+ Add' for a Schedule and you can also add multiple Schedules here by clicking on '+ Add New Shedule'.
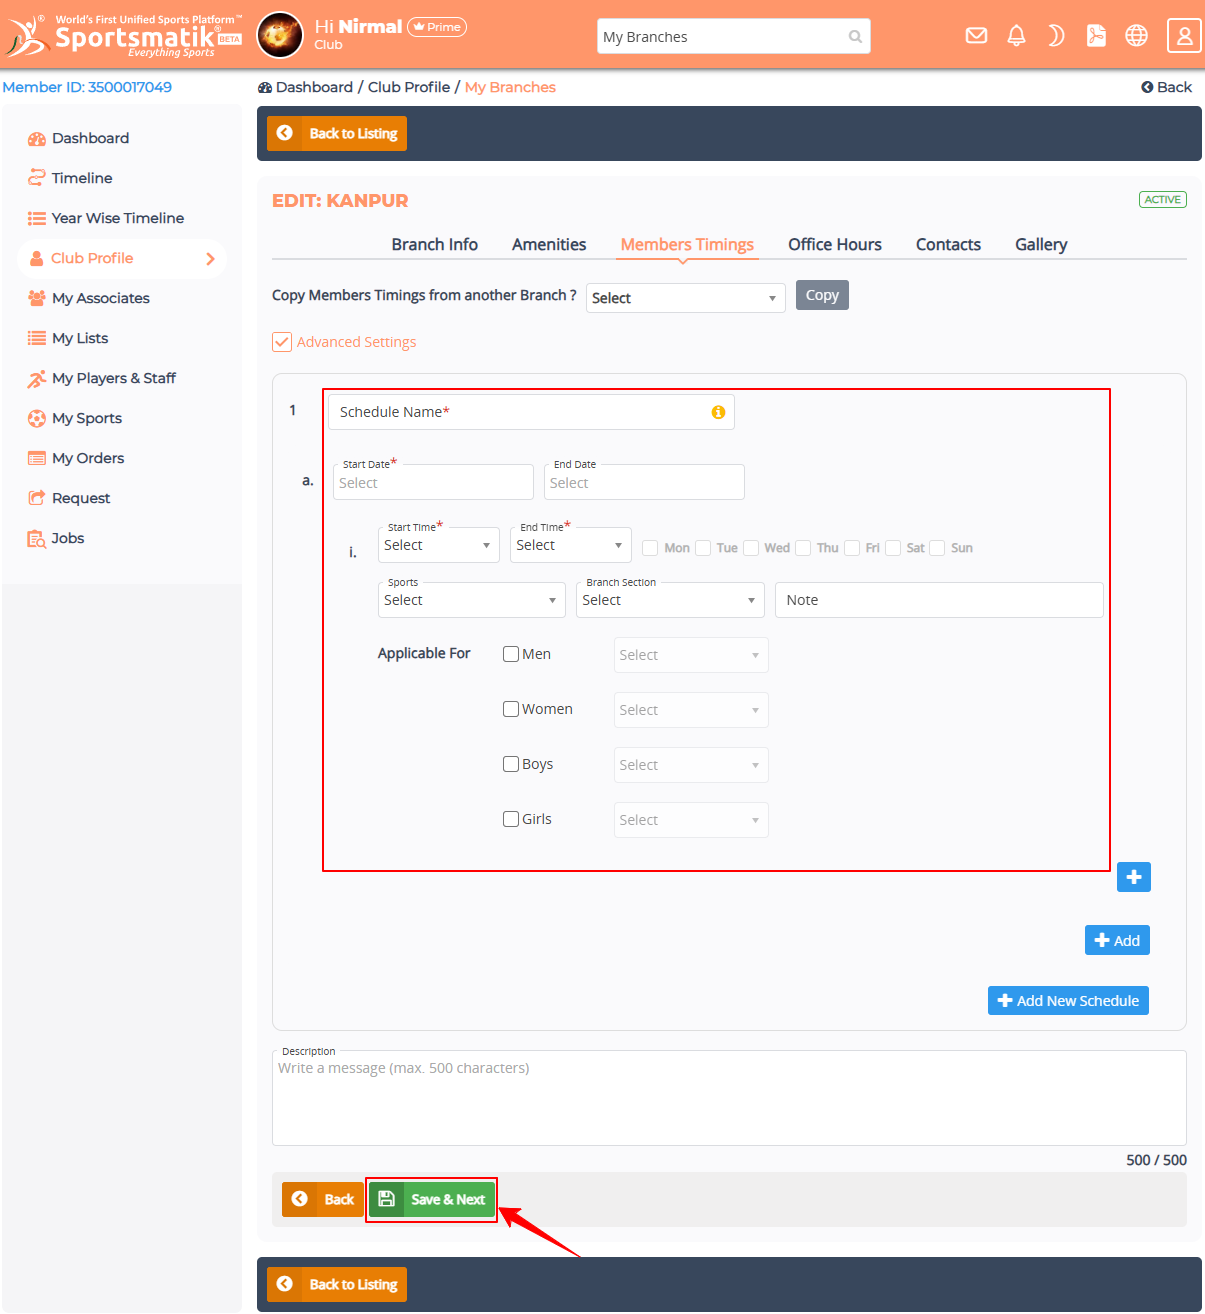
Alternatively, You can copy Members Timings from another Branch by selecting the Branch Name from the Select dropdown menu at the top and clicking on the 'Copy' button. (The Copy option will appear only when other branch records are available.)
- Office Hours: - There are two types of Office Hours that you can use.
- Normal Office Hours: - Select Timing and days then click on the 'Save & Next' button.
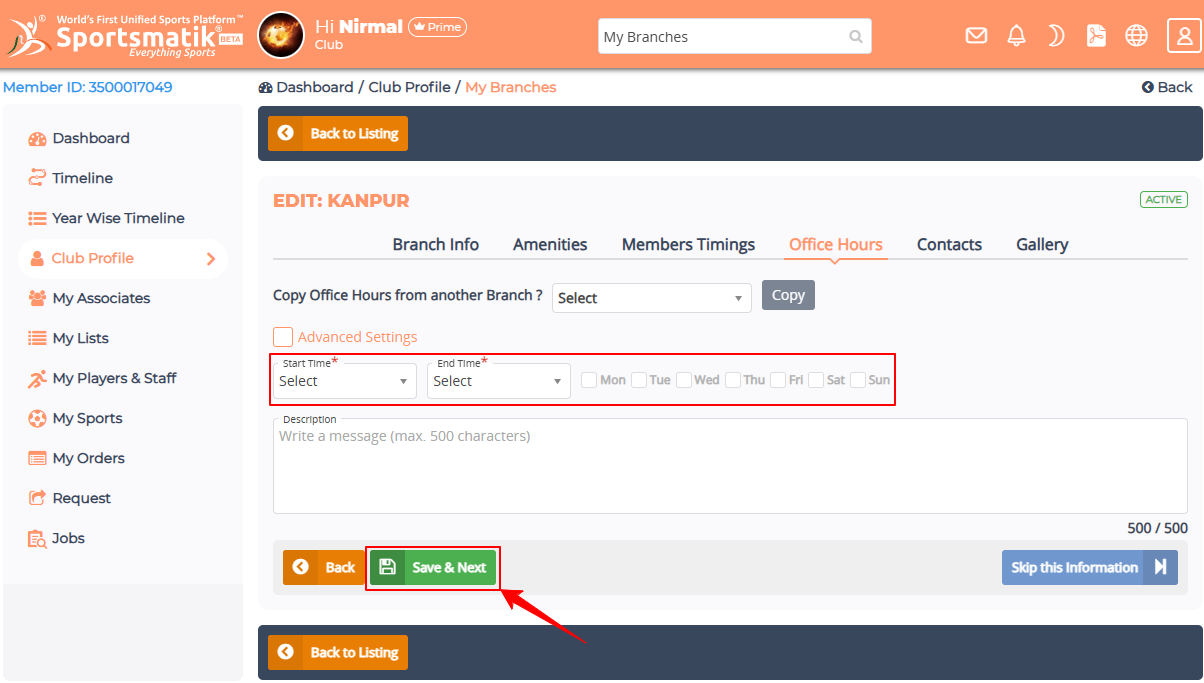
- Advanced Office Hours: - Check to activate Advanced Settings. Now you can select open days and thier multiple timings and click on the 'Save & Next' button.
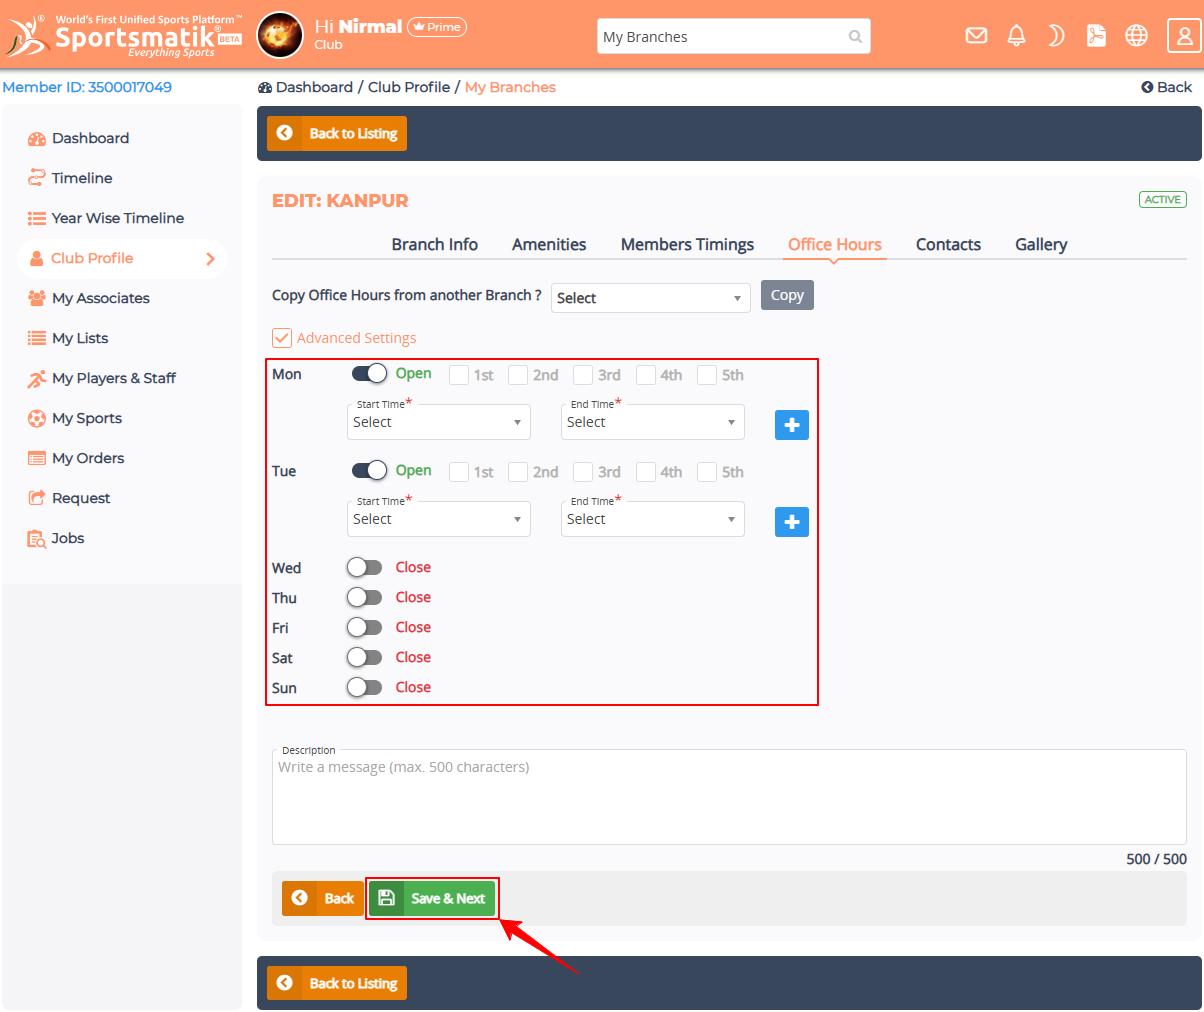
Alternatively, You can copy Office Hours from another Branch by selecting the Branch Name from the Select dropdown menu at the top and clicking on the 'Copy' button. (The Copy option will appear only when other branch records are available.)
-
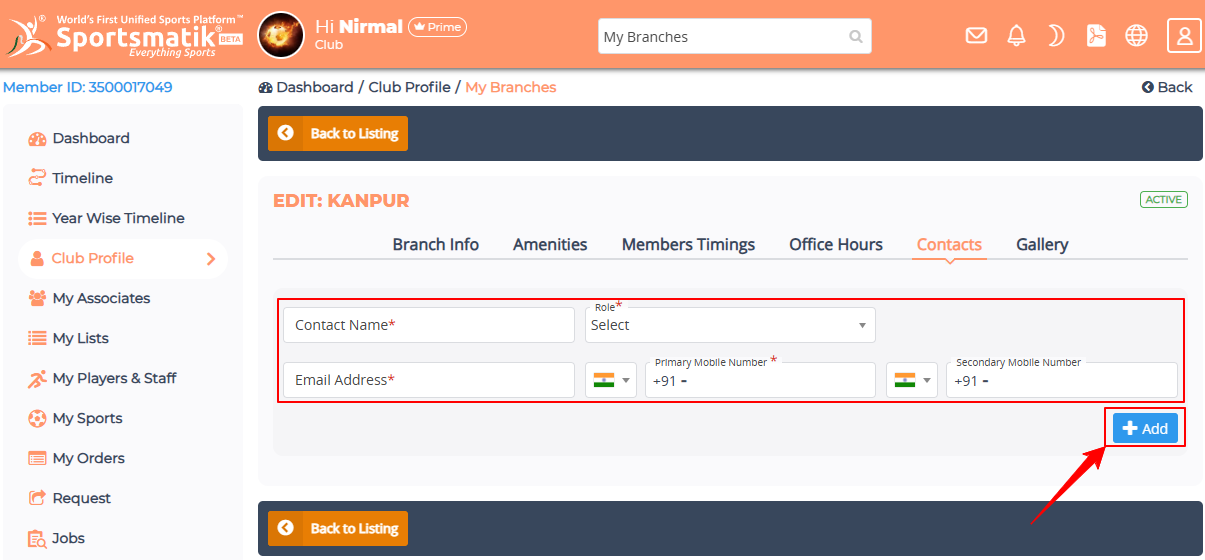
Contact Person: - Fill in the required fields and click on the '+ Add' button. You can add multiple Contact Persons.
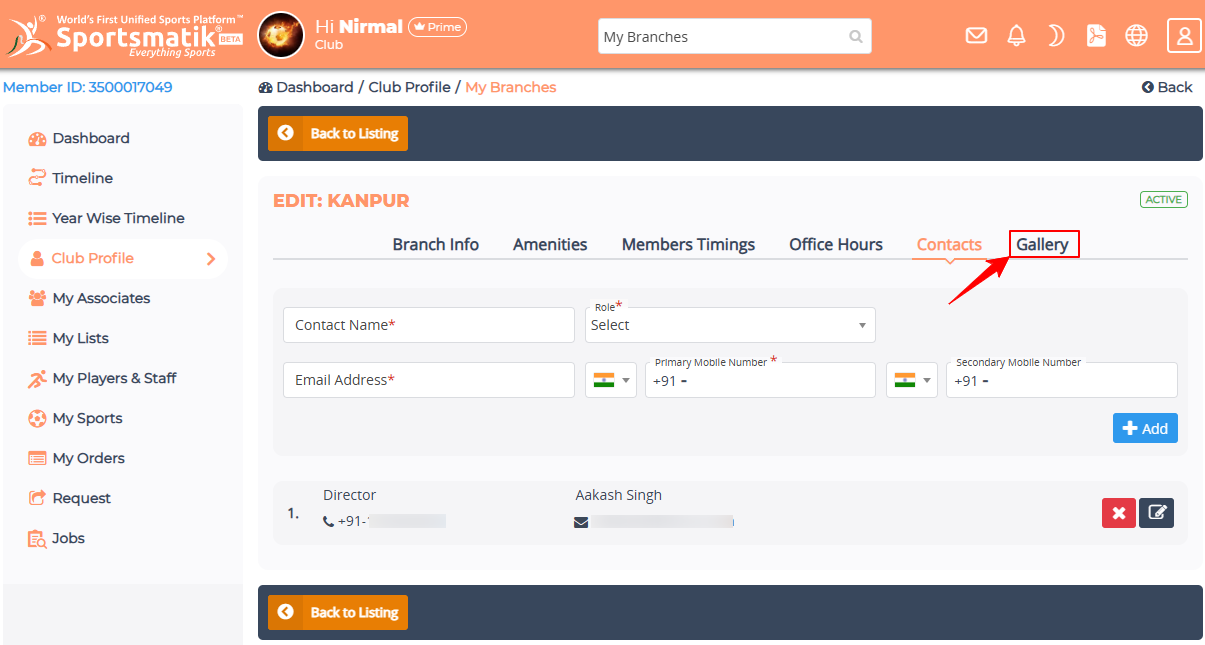
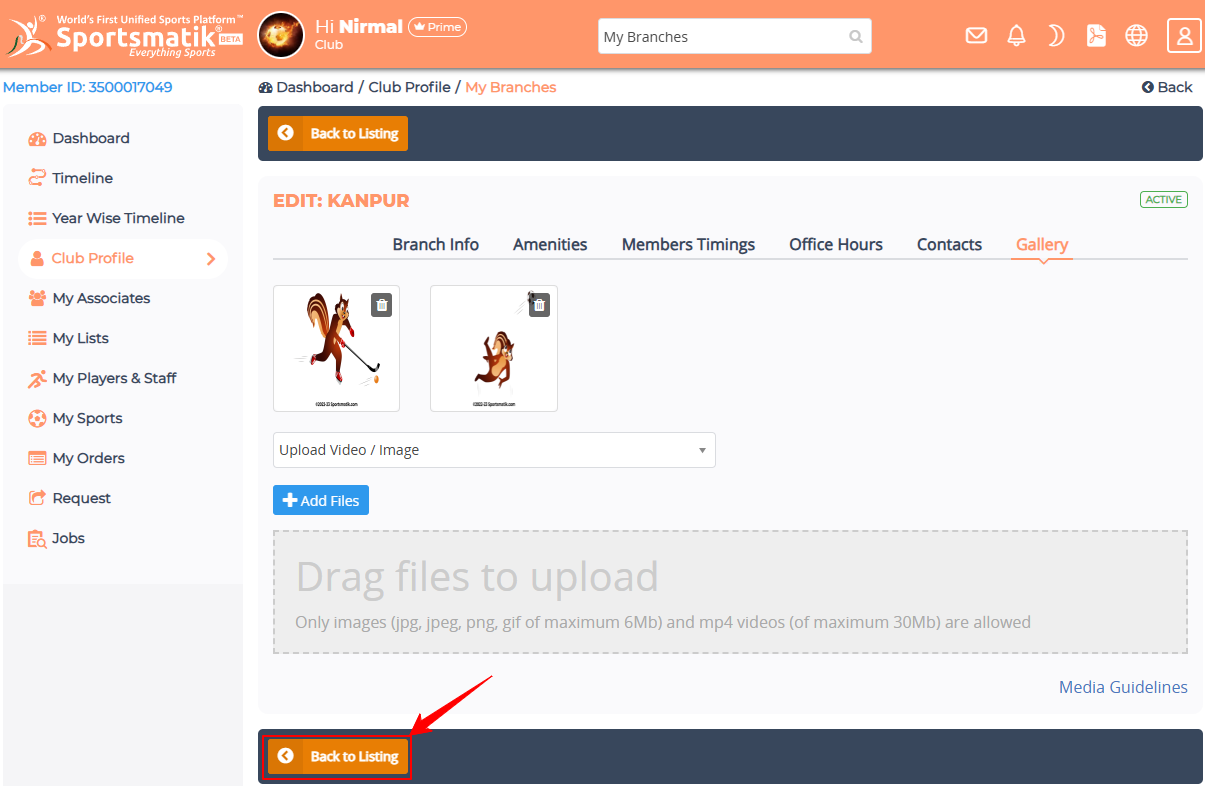
- After add Contact Person click on the Gallery tab.
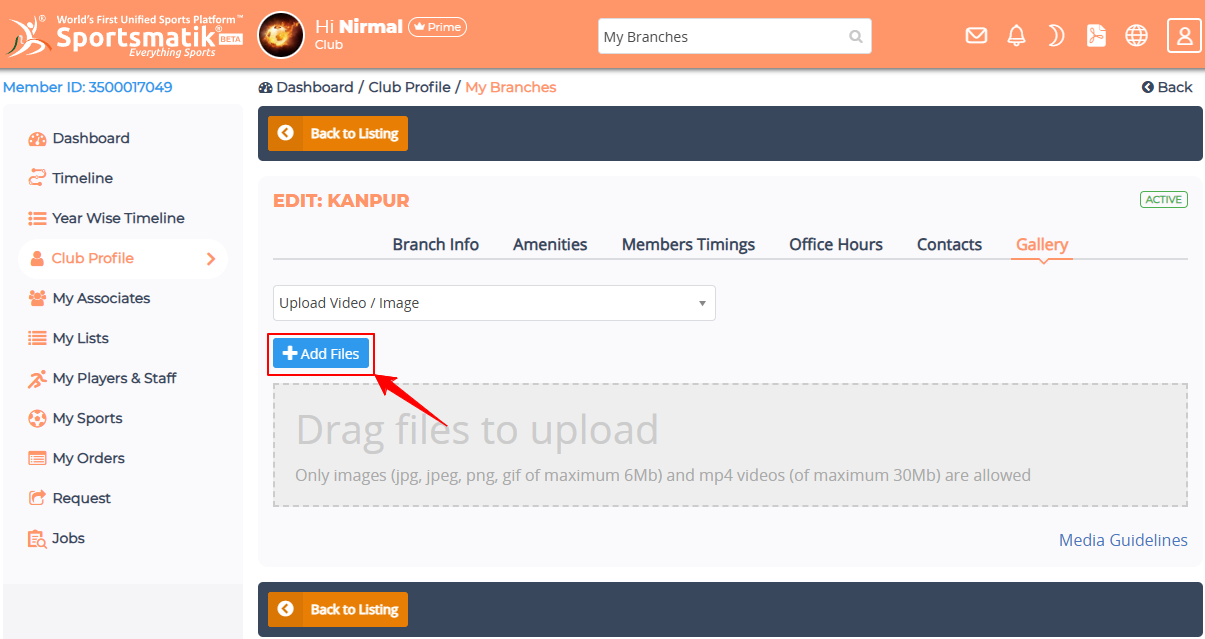
- Click on the 'Add Files to upload' button to add Images/Videos related to this Branch.
-
After completing all these steps, your branch has been added. Now click on the 'Back to Listing' button.
-
Now you need to Acivate this Branch by clicking on it's Status to make it visible to others.
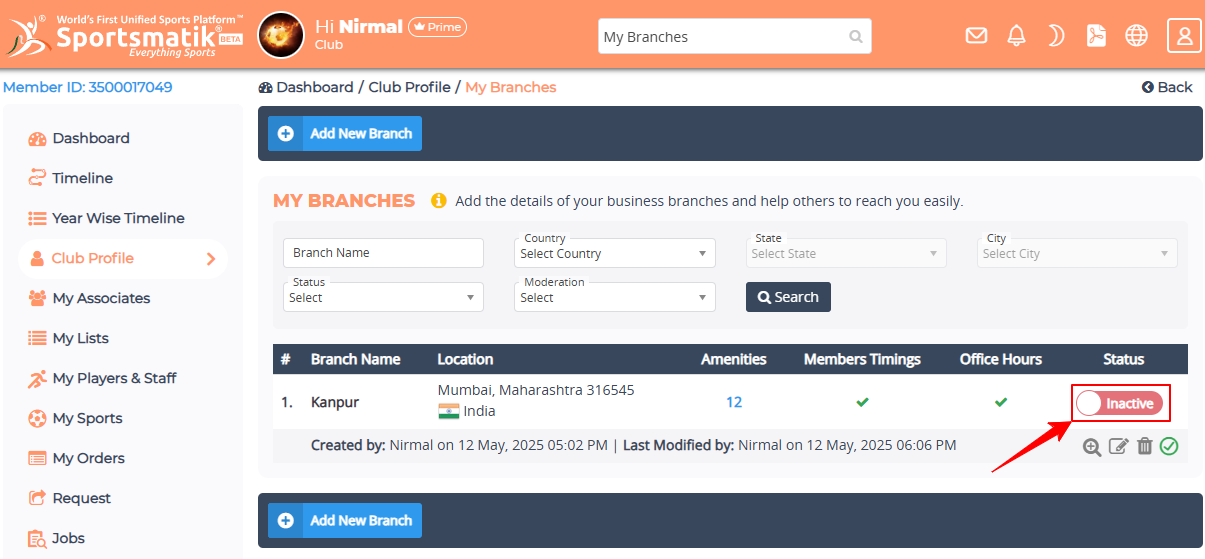
Congrats your Branch is added successfully and will be visible to other members in your Public Profile.